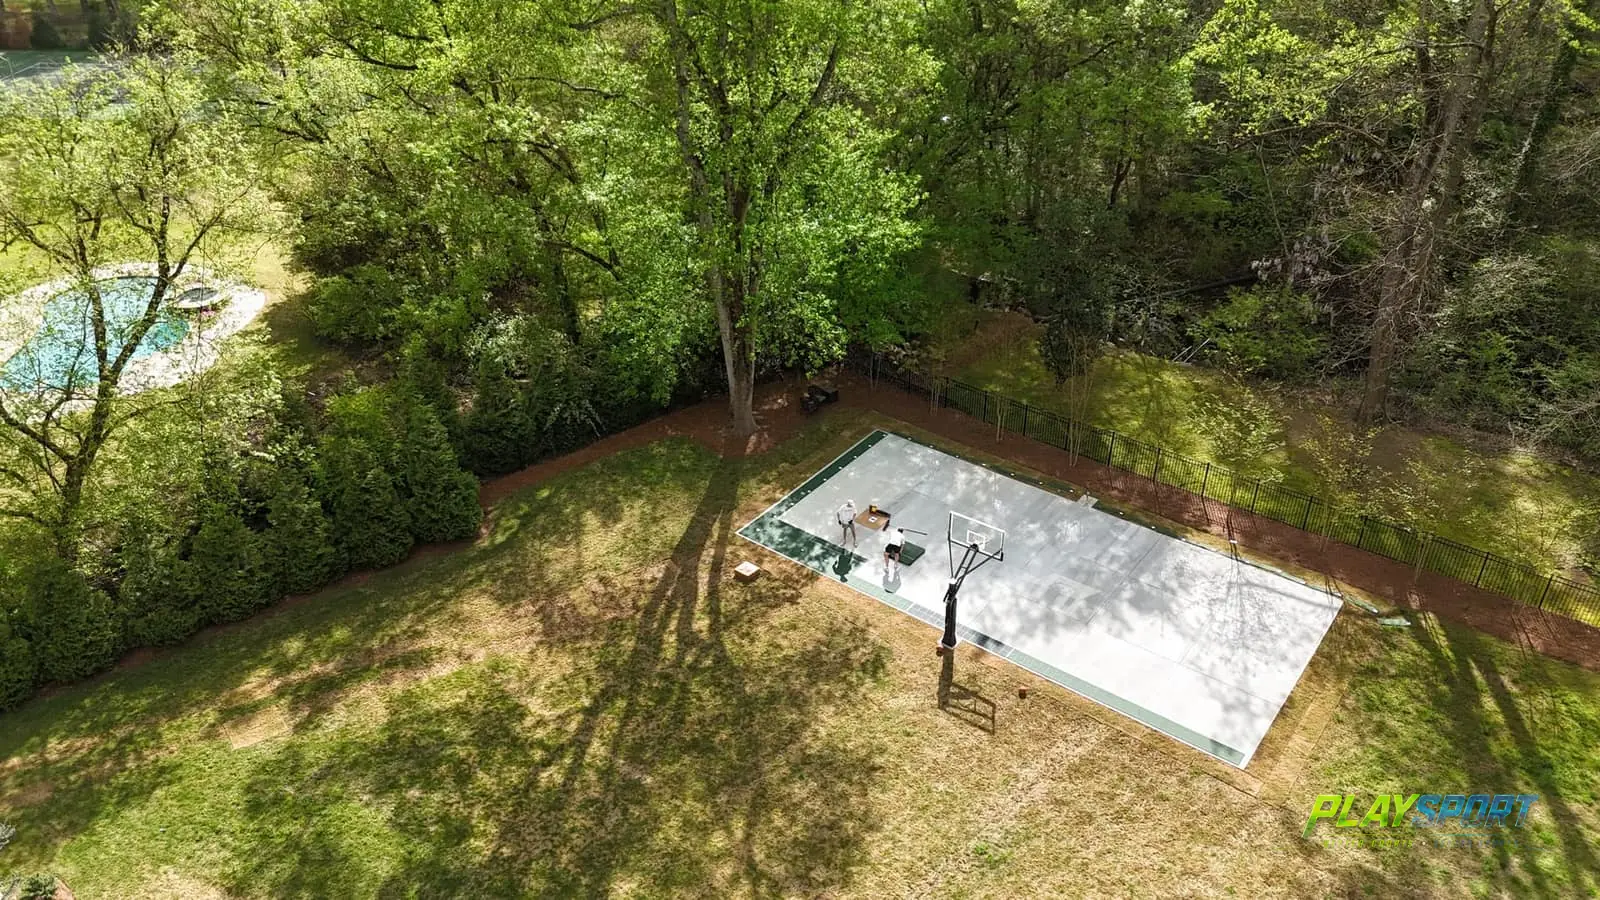
One of the most common questions we get from homeowners is whether they can install sports court tiles themselves. The short answer is yes — and the longer answer is that most people are genuinely surprised at how straightforward it is.
Modular sports court tiles are designed for floating installation. No adhesive, no bonding agent, no professional tools required. With a clean flat surface and a couple of hours, most single-car garage courts or backyard half courts can be installed in a single day.
Here is the full process, step by step.
WHAT YOU WILL NEED
- Your PlaySport Courts tile order (CORE, TRUE, or X COURT system)
- Tape measure and chalk line or string line
- Rubber mallet (for stubborn connections on first row)
- Circular saw or jigsaw (for edge cuts)
- Broom or leaf blower for surface prep
- Crack filler (if needed — see Step 2)
Bring your tiles inside and let them acclimate to room temperature for 24 hours before installation if they have been stored in a cold environment. Cold tiles can be stiffer and harder to snap together.
THE INSTALLATION STEPS
Measure the length and width of your installation area in feet. Divide each dimension by the tile size (typically 12" x 12" or 1 ft x 1 ft) to get your tile count per row. Add 10% for edge cuts and breakage. If you ordered through PlaySport Courts, we will have already calculated this for you based on your quote.
Sweep or blow the concrete or asphalt clean. Remove any oil stains, loose debris, or standing water. Fill any cracks larger than 1/4 inch with a concrete crack filler and let it cure fully before tiling. The surface does not need to be perfectly smooth — minor variations in concrete are normal and the floating tiles will bridge them. What you cannot tile over is a surface with major heaving, severe cracking, or active water intrusion.
For most rectangular courts, start from one corner and work outward in an L-shape. For symmetrical layouts (like a half-court basketball layout), find the center of your space and work outward so the cut tiles at the edges are equal on both sides. Snap a chalk line as a guide for your first row — this is the most important row to get perfectly straight.
Lay your first tile in the corner and align it with your chalk line. Connect the second tile by aligning the tabs and clicking it in — you will feel and hear a click when it seats properly. Continue across the first row. Use a rubber mallet on the edge of stubborn tiles to help them seat. Do not strike the tile surface directly. Once your first row is down and straight, the rest goes quickly.
Work row by row, connecting each tile to its neighbor on the side and to the row below. Stagger your tile joints like a brick pattern — this is stronger and looks more professional. Most tiles in our system are designed to be installed either orientation, so you do not need to worry about which direction each tile faces.
When you reach the edges of your space, measure and mark the cut line on each border tile. Use a circular saw with a fine-tooth blade or a jigsaw to cut. Wear eye protection. The cut edge will face the wall — the factory edge faces out. Snap the cut tile into place like the others.
For sport-specific court lines, you have two options: court line tape or painted stencils. Tape is easier and fully reversible — we recommend using a tape designed for sports courts rather than standard masking tape, as it holds better and removes cleanly. For painted lines, use a water-based acrylic paint with a court line stencil kit. Painted lines are more permanent but look very professional.
Leave a 1/4 inch gap between your tile edge and any fixed wall or structure. The tiles will expand slightly in heat. This gap allows them to float freely and prevents buckling.
HOW LONG DOES IT TAKE?
A single-car garage (roughly 200–240 sq ft) typically takes 2–4 hours for one person working at a comfortable pace. A full two-car garage (400–480 sq ft) takes most of a day. A half-court basketball installation (approximately 800 sq ft) is generally a two-person weekend project.
If you have a larger commercial or community court project, our contractor network in Atlanta can handle installation professionally. Reach out through our contractors page and we will connect you with an experienced PlaySport Courts installer.
AFTER INSTALLATION: MAINTENANCE
Modular sports court tiles require almost no maintenance. Sweep or blow them off periodically. Rinse with water when they get dirty. No sealing, no recoating, no annual treatments required. If an individual tile gets damaged — a forklift nick in a warehouse, a vehicle impact in a garage — you replace that single tile. No tearing up the whole floor.
QUESTIONS ABOUT YOUR INSTALL?
We are here to help. Contact PlaySport Courts in Atlanta for install support, tile specifications, or a custom project quote.
Get a Free Quote